 SeaMemo
Sailing knots: the 7 essential knots for your next trip
Seven sailing knots cover almost everything on a charter week: the bowline for a fixed loop, the figure eight as a stopper on sheets, the clove hitch for fenders, the reef knot for tying round a sail, the sheet bend to join two lines, the round turn and two half hitches for a ring or post, and the cleat hitch. Practise them at home until you can tie them without looking.
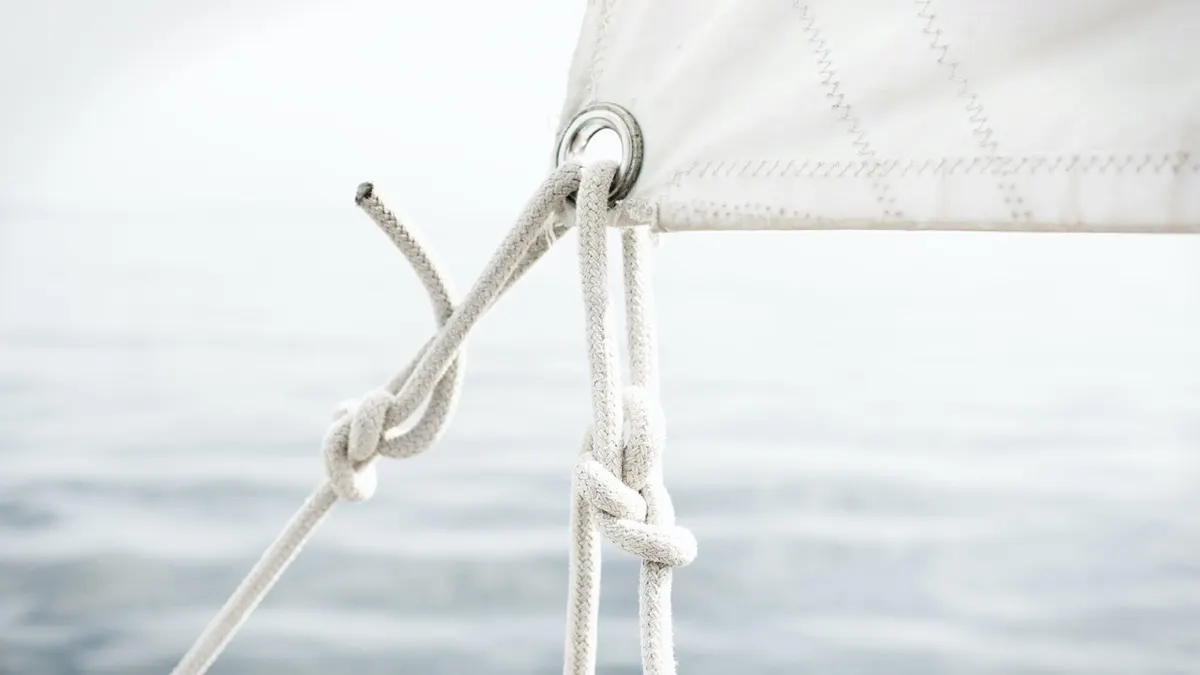
The 7 essential sailing knots at a glance
| Knot | Used on board for | What matters |
|---|---|---|
| Bowline | fixed loop in a mooring line or sheet | does not slip, easy to untie after loading |
| Figure eight | stopper at the end of sheets and halyards | stops the line running out of a block or clutch |
| Clove hitch | fenders on the guardrail, line to a post | quick to tie and adjust, can slip |
| Reef knot | reef points, tying a furled sail | never to join two loaded lines |
| Sheet bend | joining two lines, even of different sizes | both tails on the same side |
| Round turn and two half hitches | line to a ring, bollard or rail | round turn spreads load and chafe |
| Cleat hitch | mooring lines and sheets on a cleat | turn, figure eights, locking hitch |
Four words you need for tying knots
- Standing part: the part of the line that leads to the load, such as the boat, the sail or the bollard.
- Working end (tail): the free end you tie the knot with.
- Bight: the line folded into a U shape without crossing itself.
- Loop: a turn in which the line crosses itself.
Bowline: the fixed loop


The bowline is the one knot everyone on board should know. It forms a loop at the end of a line that does not tighten when loaded. You use it to put an eye in a mooring line to drop over a bollard, or to tie the jib sheet to the clew of the sail.
- Make a small loop in the standing part, with the part towards the working end lying on top.
- Bring the working end up through this small loop from underneath. How far you pull it through sets the size of the big loop.
- Take the working end around behind the standing part.
- Pass it back down through the small loop.
- Hold the tail and the side of the big loop together and pull the standing part to tighten.
The classic way to remember it: the rabbit comes out of the hole, runs round the tree and goes back down the hole. Tied correctly, the tail ends up inside the big loop. The bowline is easy to untie after it has taken a load, but it can work loose when it is slack for a long time or keeps shaking. Leave a decent tail and check it on flogging sheets.
Figure eight: the stopper knot


The figure eight goes on the end of sheets and often halyards. It stops the line running out through a block or a clutch when it slips out of your hand.
- Make a loop with the working end over the standing part.
- Take the working end around behind the standing part.
- Pass it through the loop from the front.
- Pull both ends tight. The knot now looks like the number eight.
A figure eight is still fairly easy to untie after a load. A simple overhand knot also works as a stopper, but it often jams so tight that it is hard to undo.
Clove hitch: fenders and posts


Many crews hang their fenders on the guardrail with a clove hitch because the height is quick to adjust. It is also the fastest way to tie a line around a post.
- Pass the line once around the rail or post.
- Cross it over the standing part and take it around a second time.
- Tuck the working end under this second turn.
- Pull tight. Both ends come out between the turns in opposite directions.
With some lines the clove hitch can slip under load, and it can spill if the standing part is pulled hard in the wrong direction. It is unreliable on square posts. Many sailors add a half hitch around the standing part to secure it.
Reef knot: for tying round, not for joining


The reef knot ties the two ends of one line around something. On board that mainly means reef points around a reefed sail or ties around a furled sail.
- Put the right end over the left and twist it under once.
- Now put the left end over the right and twist it under again.
- Pull tight. Each end lies parallel to its own standing part.
If you twist the same way twice you get a granny knot, which holds badly. More important: the reef knot is not suitable for joining two lines under load. The International Guild of Knot Tyers warns against it because it spills when a free end is pulled. Use a sheet bend instead.
Sheet bend: joining two lines


The sheet bend joins two lines, even if they differ in thickness or stiffness. The thicker line forms the bight.
- Make a bight in the end of the thicker line.
- Bring the end of the thinner line up through the bight from underneath.
- Take it around behind both legs of the bight.
- Tuck it under itself, not through the bight.
- Pull tight. Both tails end up on the same side of the knot.
If the lines are very different in size, tie a double sheet bend: take the end around the bight a second time and tuck it under itself again. Like the bowline, a sheet bend can work loose when it is not under load.
Round turn and two half hitches


This knot ties a line to a ring, a bollard, a mooring buoy or the rail, for example the painter of the dinghy. The round turn spreads the load and the chafe over two wraps, and the half hitches only secure the end.
- Take the line twice right around the ring or bollard. That is the round turn.
- Pass the working end around the standing part and through the loop it forms. That is the first half hitch.
- Tie a second half hitch in the same direction.
- Slide both hitches up to the round turn and pull tight.
Together, the two half hitches form a clove hitch around the standing part. Learn one and the other comes easily.
Cleat hitch

When you come alongside, you need to make mooring lines fast on a cleat quickly and securely. Tied properly, the line does not jam and is quick to release when you leave.
- Take the line once fully around the base of the cleat. This turn takes the first load.
- Lead it diagonally over the top and around the opposite horn to form a figure eight. One or two figure eights are enough.
- Finish with a locking hitch: twist the line into a loop with the tail underneath and drop it over the horn. The tail then lies parallel to the last figure eight.
- Coil the rest of the line neatly so nobody trips over it.
More than one locking hitch does not make the line safer, only harder to release. A classic beginner mistake is a cleat buried under crossed turns that nobody can undo quickly when it is time to leave.
Where your mooring lines go and which one gets ashore first is explained in our guide to docking a boat.
How to practise knots properly
- With a piece of rope at home. One or two metres of old line on the sofa teaches you more than ten videos.
- Without looking. On board it is often dark, wet or rolling. Only when you can tie a knot blind will you tie it when coming alongside.
- From different angles. Tie the bowline around yourself or around a post in front of you, not only on a table.
- Always check. Does the knot look like the picture? Is the tail where it belongs? A wrongly tied knot is more dangerous than no knot at all.
It is worth asking your skipper before the trip whether they expect any particular knots, for example for lines on a mooring. Everything else to pack is in our sailing packing list. Sailing gloves protect your hands when you work the lines a lot.
Knots, lines and cleats at the charter handover
At the handover of your charter yacht, take a close look at the mooring lines, sheets and halyards: are there enough mooring lines on board, are the ends secured with figure eights, are cleats and clutches firmly fixed? The 16 areas to check are in our guide to the charter boat handover. In SeaMemo you tick them off with the charter check, with photos of existing damage and signatures.
Knot practice as an item on your crew checklist
With the checklists in SeaMemo you plan shared trip lists for your whole crew and personal lists you reuse on every trip. You add your own items, such as “practised bowline, figure eight and cleat hitch”. That way the skipper can see before casting off who still needs some practice.


When you are at anchor, the anchor alarm keeps watch at night: it sounds when the boat leaves the alarm circle, even without internet. And if by “knots” you actually meant speed, the conversion is in our guide knots to mph.
Sources
- Wikipedia: Bowline: works loose when not under load, easy to untie after loading
- Wikipedia: Figure-eight knot, Clove hitch, Sheet bend
- Wikipedia: Reef knot: International Guild of Knot Tyers warning against using it to join two ropes
- Wikipedia: Round turn and two half hitches
- Wikipedia: Cleat hitch
Get SeaMemo for free
Logbook, travel journal and crew in one app. For iPhone and Android, works offline at sea.


Frequently asked questions
Which sailing knots should I know before my first trip?
Start with the bowline, the figure eight and the cleat hitch, because you use them every day when mooring and on the sheets. Add the clove hitch for fenders and the round turn and two half hitches. Ask your skipper before the trip which knots they expect on board.
What is the most important sailing knot?
Most sailors say the bowline. It makes a fixed loop that does not tighten under load and is still easy to untie after it has been loaded. You use it to put a loop in a mooring line or to tie a sheet to the sail.
Why does my bowline sometimes come undone?
The bowline tends to work loose when it is not under load or when it is shaken repeatedly, for example on a flogging jib sheet. Dress and tighten it well, leave a long enough tail and check such knots during the day.
Can I join two ropes with a reef knot?
Not for lines under load. The International Guild of Knot Tyers warns against it, because a reef knot can spill when one of the free ends is pulled. To join two lines, use a sheet bend, or a double sheet bend when the lines are very different in size.
What does a knot as a unit of speed have to do with sailing knots?
Only the name. Speed used to be measured with a log line that had knots tied in it at fixed intervals. Today one knot is one nautical mile per hour, which is 1.15 mph or 1.852 km/h. The conversion is in our guide on knots to mph.